
You Are My Rainbow Magical Shaker Card
Hey there! Today I'm making it rain on the Heffy Doodle blog!

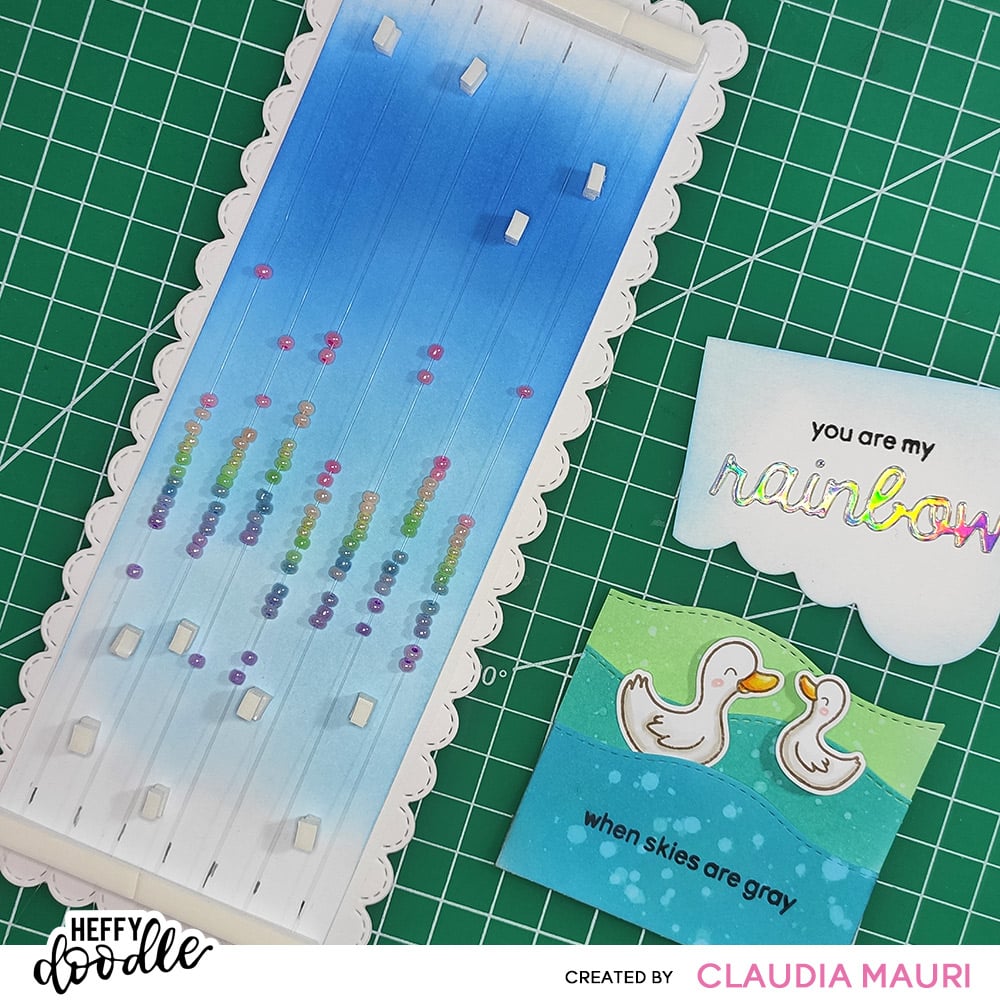
Then, I stamped the images from Quack Me Up and colored them super simply with Copic Markers, then I used the coordinating dies to cut them out.


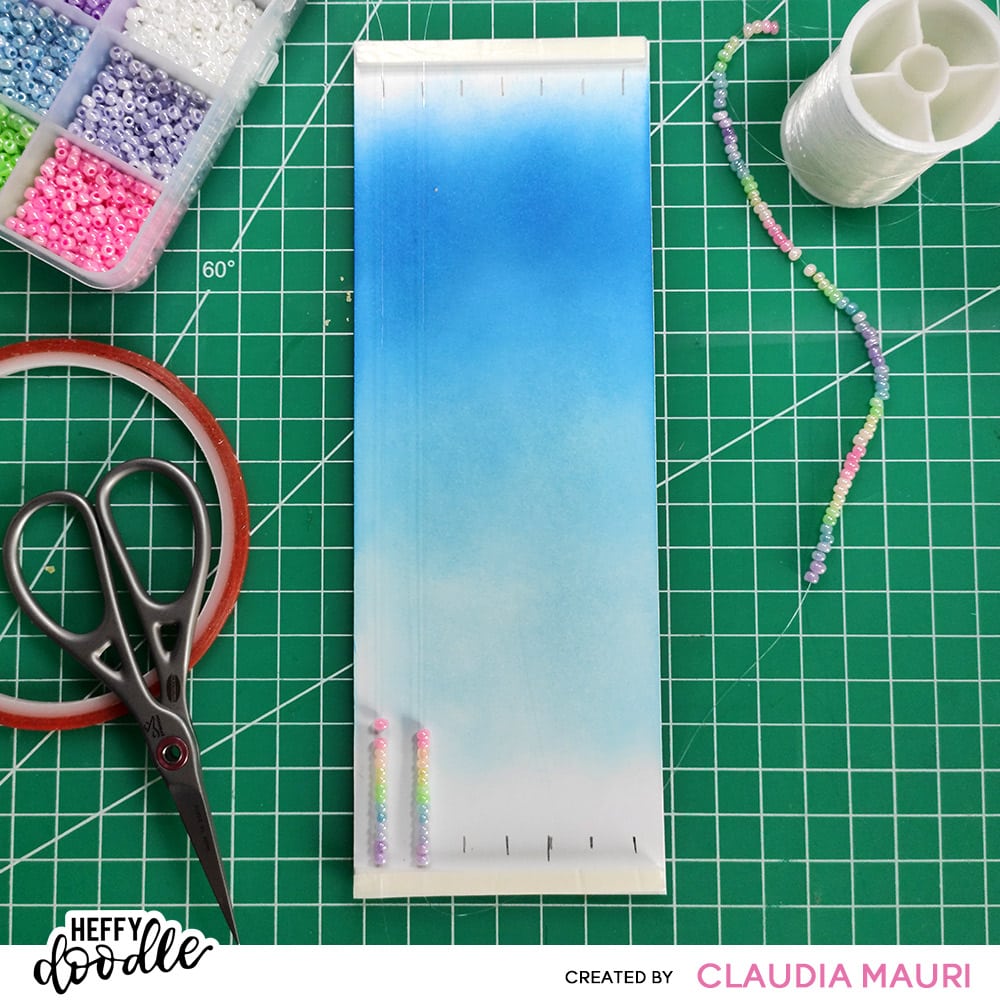
I applied a piece of Heffy Doodle 3mm Deep Foam Tape on the top and one on the bottom of the blue background; I did it very close to the borders to leave room for the beads to hide behind cloud/water parts I'll make later. I used an anti-static powder tool all over the inner edges to prevent the beads from sticking to the foam tape and then I marked down the spaces between the lines.
(Just a note about threading the beads: as you can see in the picture below, I threaded one rainbow from pink to violet, then one from violet to pink, the pink to violet etc. That's because I usually prefer not to cut the wire until the end and I find it easier to make one line from top to bottom and then one from bottom to the top and so on; this requires the rainbows to be in "opposite" orders.)
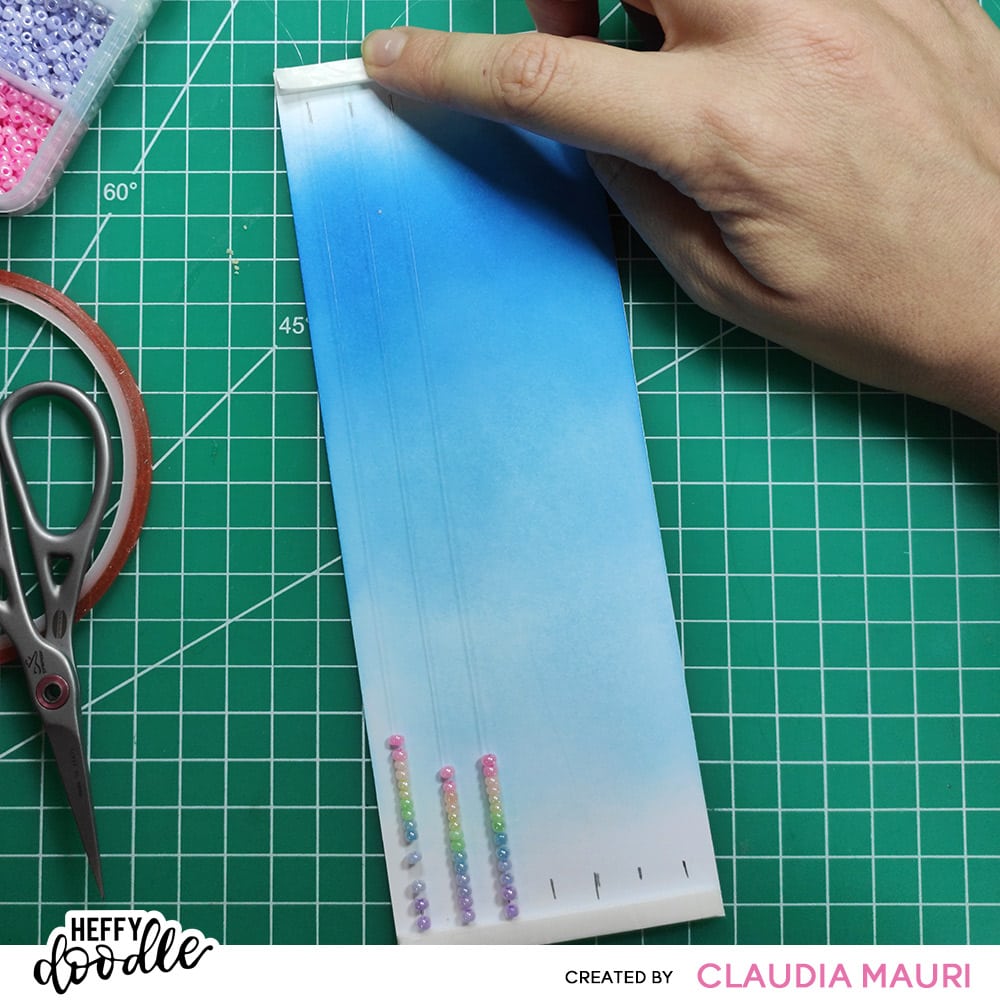
Now the fun part! I lifted a small portion of the cover tape from the foam adhesive, I put the wire over the foam tape, I put the cover tape back and then pressed it down to make the thread adhere as much as possible.

I took a single "rainbow" from the beads strip and placed it inside the card, then I tightened the thread to be as straight as possible and did again the lift/push process with the top foam tape. You can see here I was doing a sort of "wave" with the beads working from top to bottom and vice versa, 'cause I prefer not to cut the wire until I'm finished.
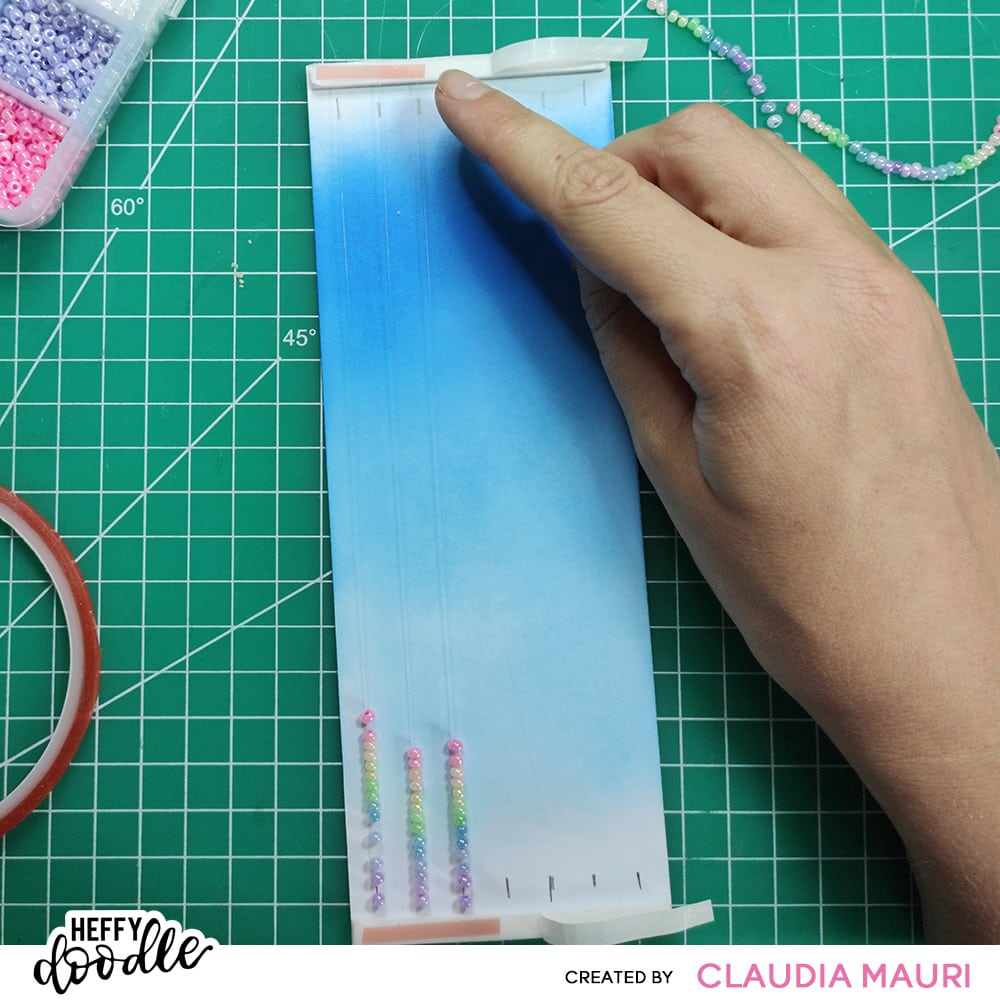
At this point, I usually place a very small double sided adhesive strip over the wire to secure it to the foam: you can see I used a red one here.

I tried my best for showing you how I make Magical Shaker cards, however if something's not clear feel free to ask: I also recommend you to watch my fellow DT member Julia's @craftroomadventure video tutorial on YouTube!
Happy crafting!
Clo

0 commenti